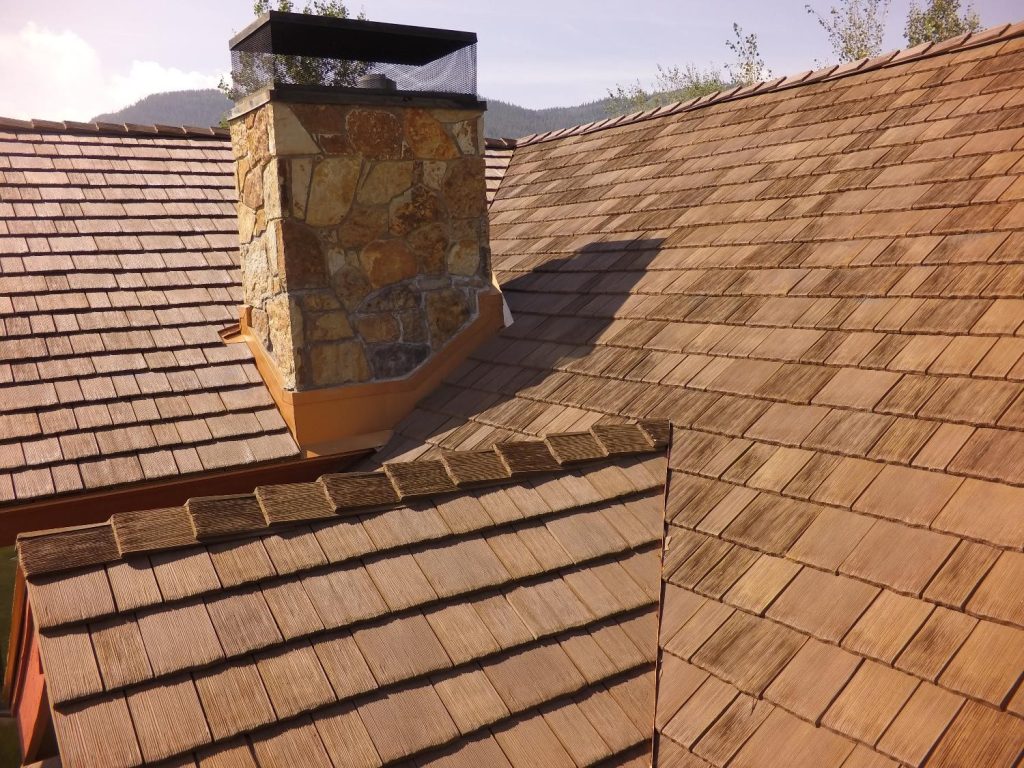
Asphalt shingle roofs are a go-to choice for many homeowners in Long Island, NY, thanks to their affordability, durability, and aesthetic appeal. However, even the sturdiest roof can develop leaks over time, often stemming from issues that go unnoticed until significant damage occurs. In this article, we’ll uncover 10 common but often overlooked causes of asphalt shingle roof leaks and offer practical solutions to address them.
1. Pipe Collars: Small Openings, Big Problems
Pipe collars, designed to seal the area around plumbing vent pipes, are prone to wear and tear. Over time, exposure to UV rays and extreme weather can cause the rubber or metal material to crack or deteriorate, allowing water to seep in.
To prevent leaks, inspect pipe collars annually for signs of damage. Replace any cracked or aging collars and ensure proper installation by a professional roofer to create a tight, watertight seal.
2. Chimney Flashing: A Major Weak Spot
Chimneys are one of the most leak-prone areas on a roof. Poorly installed flashing, deteriorated mortar joints, and cracked crowns are common culprits that let water infiltrate.
Properly installed and well-maintained flashing is essential to keep water out. Have your chimney inspected regularly, repair deteriorating mortar, and apply a waterproof sealant to the bricks for added protection. If your chimney is significantly damaged, rebuilding it might be the best long-term solution.
3. Skylights: Natural Light, Unnatural Leaks
Skylights bring beauty and light into your home, but improper installation or aging components can turn them into a source of frustration. Damaged flashing or cracked seals often allow water to leak around the skylight.
Ensure skylights are installed by certified professionals and inspect the flashing and seals regularly. Replace worn-out gaskets or seals and avoid temporary fixes like tar, which can worsen leaks over time.
4. Wall Flashing: The Overlooked Protector
Where the roof meets a vertical wall, wall flashing acts as a critical barrier against water infiltration. Improper installation or damage to this flashing can let water seep into your home.
Inspect wall flashing periodically, especially after storms, to ensure it’s in good condition. If repairs are needed, don’t hesitate to remove siding to access the problem area. Reinforce the flashing with ice and water shields for extra durability.
5. Gutters: A Chain Reaction of Problems
Clogged gutters may not seem like a direct roofing issue, but they can cause water to back up under shingles, leading to leaks and even damage to your home’s foundation.
Clean your gutters at least twice a year and install gutter guards to minimize debris buildup. Ensure proper water flow by checking for sagging or misaligned gutters, and verify that drip edges are installed to channel water away from the roof.
6. Ridge Vents: Ventilation Gone Wrong
Ridge vents are vital for attic ventilation, but poor installation or sealing can allow water to enter through the vent openings during heavy rain or wind-driven storms.
Inspect ridge vents regularly for gaps or damage. Reapply sealant around the edges as needed and ensure the vents are installed according to the manufacturer’s guidelines. Professional installation can significantly reduce the risk of leaks.
7. Attic Fans and Box Vents: Common Entry Points for Water
Attic fans and box vents are necessary for ventilation, but they can become sources of leaks if their flashing or seals degrade over time.
Inspect these components for signs of wear and ensure the flashing is securely fastened to the roof. If leaks persist, replacing the attic fan or box vent is often a cost-effective solution.
8. Shingle-to-Flat Roof Transitions: A Tricky Junction
Areas where asphalt shingles meet flat roofs are particularly susceptible to leaks. Water pooling in these transition zones or ice dams forming in the winter can exacerbate the problem.
Install proper flashing and use ice and water shields to protect these vulnerable areas. Experienced roofers will ensure a seamless transition between the two roofing types to minimize potential leaks.
9. Incorrect Nailing: A Subtle Yet Serious Issue
Improper nailing during roof installation can create vulnerabilities. Nails driven too high, too low, or through the seams of shingles can cause them to lift, allowing water to penetrate the roof.
Hire certified roofing contractors trained in manufacturer-recommended nailing techniques. Proper nail placement ensures shingles remain secure and watertight, even in harsh weather conditions.
10. Missing Drip Edges and Ice Shields: An Invitation for Leaks
Drip edges and ice shields are essential components for protecting your roof from water infiltration. Without them, water can seep into vulnerable areas like the roof’s edge or valleys.
Ensure drip edges and ice shields are installed during new roof installations or major repairs. They are especially important in areas like Long Island, where freezing temperatures and heavy rainfall are common.
Taking Action: Prevention is Key
Roof leaks may start small, but they can escalate into major issues if not addressed promptly. Regular inspections, proper maintenance, and quality materials are your best defense against roof damage. Hiring a certified roofer ensures your roof is installed and maintained according to the highest standards, reducing the risk of leaks and extending its lifespan.
As a Long Island homeowner, proactive care is the best way to protect your investment. By addressing vulnerabilities like pipe collars, flashing, and gutters before they become problems, you can avoid costly repairs and enjoy peace of mind knowing your roof is in top condition. Don’t wait for leaks to show up—take action today to safeguard your home for years to come.
If you are looking for a free estimate please feel free to Call Chris Feniello at Clearview Roofing at 631-262-7663 or log onto www.longislandroofs.com

